For instruction on folding your Storigami general purpose cover, please refer to the guide below.
Step 1: Locate the two handles at end of your cover near the orange guide arrow labels and grasp one handle in each hand.
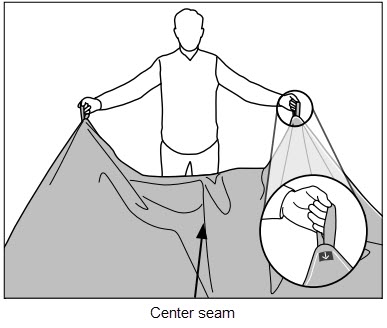
Step 2: While lifting, bring the handles with the orange guide arrow labels together towards the center ensuring the center seam folds down and in. (See image for center seam location).
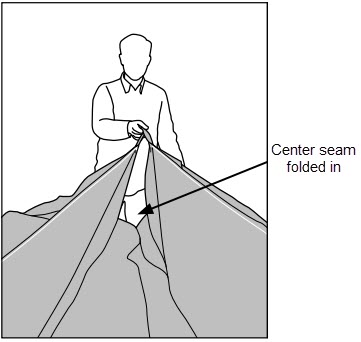
Step 3: Straighten the center fold by lifting and pulling the fabric straight and aligning the corners.
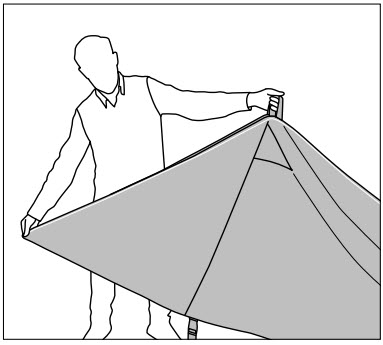
Step 4: Lay the cover flat on your furniture, or on other flat surface so that the corners and edges stay aligned. Repeat steps 1-4 on the opposite side of the cover.

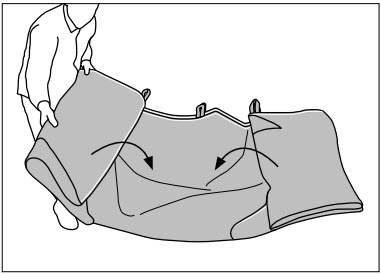
Step 5: Locate the handles at the center of the cover. Bring the handles together. Ensure the cover is flat and the panels fold together at the center hem.
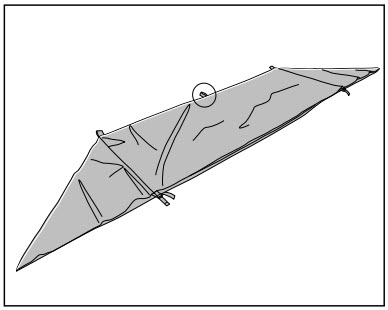
Step 6: Fold each end in toward the center at the seam. The first completed fold will look like a triangle. (1). The second fold will look like a rectangle (2).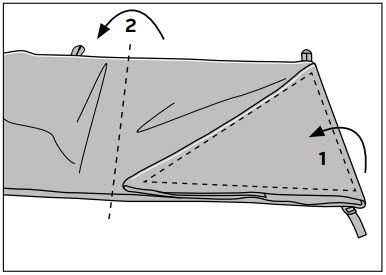
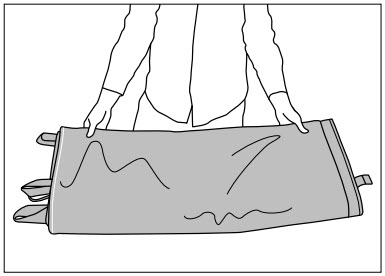
Step 7: Continue to fold both ends toward the center until you have reached desired size.
Step 8: The dimensions of the completed folded cover may vary depending on your fold widths. (The above image shows a cover folded four times toward the center on each side.)
These steps can also be viewed in our instructional video.
Comments
0 comments
Article is closed for comments.